
Chicken Kiev | котлета по-київськи
- Daniel

- Mar 18, 2022
- 2 min read
Updated: May 22, 2025
Yes, as I'd said in my previous post, I will be making some Russian and Ukrainian recipes during this wartime. Very much like Borscht, the history of this dish isn't well documented. It is rumored that some Russian chefs have adapted some French culinary techniques to create this dish. It even has a French name: côtelette de volaille.

The goal of this dish is to prevent the butter from leaking during the shallow frying process. To do that, we need to perform a simple trick. Nothing magical, it is to seal the stuffed chicken breast with a rolled tender and coat it well with seasoned flour, egg and breadcrumbs (I used Japanese panko for extra cwispiness). The most important step is to allow the stuffed chicken breast to rest, chilled in the fridge before frying.

I used a very traditional route that kept the drumlet attached to the chicken breast. You can ask a butcher for help, watch some YouTube tutorials or even discard the idea if you wanna save yourself some hassle. Yes, chicken breast with the drumlet intact works fine too.

Ingredients:
(Serve 2)
Unsalted Butter Softened, 80g
Parsley Finely Chopped, A Handful
Garlic, 3 Cloves
Sea Salt, Pinch
White Pepper, Pinch
Dried Mushroom Powder, Pinch
Nutmeg Freshly Grated, Pinch
Chicken Breast with Drumlet Attached, 2
Unbleached All Purpose Flour, 1/4 Cup For Dredging
Cayenne, Pinch
Egg, 1
High Quality Japanese Panko, For Dredging
Sunflower / Peanut / Vegetable Oil, For Frying
Spinach, 200g (Optional)
Radish Finely Sliced, For Garnishing (Optional)
Equipment:
Cast Iron Skillet / Pan
Directions:
Prepare Garlic Butter
Mix softened butter with minced garlic (smashed with salt), parsley, pepper, mushroom powder, and nutmeg.
Chill until firm.
Prep the Chicken
Debone chicken, keeping breast and drumlets intact.
Remove tenders and pound them thin.
Butterfly the chicken breast.
Place a dollop of garlic butter in the center.
Wrap with the breast and seal using the tender.
Repeat for remaining pieces.
Bread the Chicken
Prepare three bowls:
Flour, salt, pepper, mushroom powder, cayenne
Beaten egg with a splash of water
Panko breadcrumbs
Dredge chicken in flour → egg → panko → egg → panko.
Make sure all sides are sealed well.
Chill for 30 mins to set.
Fry the Chicken
Heat 2 inches of oil in a skillet over medium heat.
Fry chicken until golden on one side, then flip and baste.
Cook through and transfer to a wire rack or paper towels to drain.
Repeat for all pieces.
Optional Garnish
Sauté spinach with leftover garlic butter.
Serve chicken with radish and buttered spinach.
To Serve
Plate and serve chicken immediately while hot and crispy.

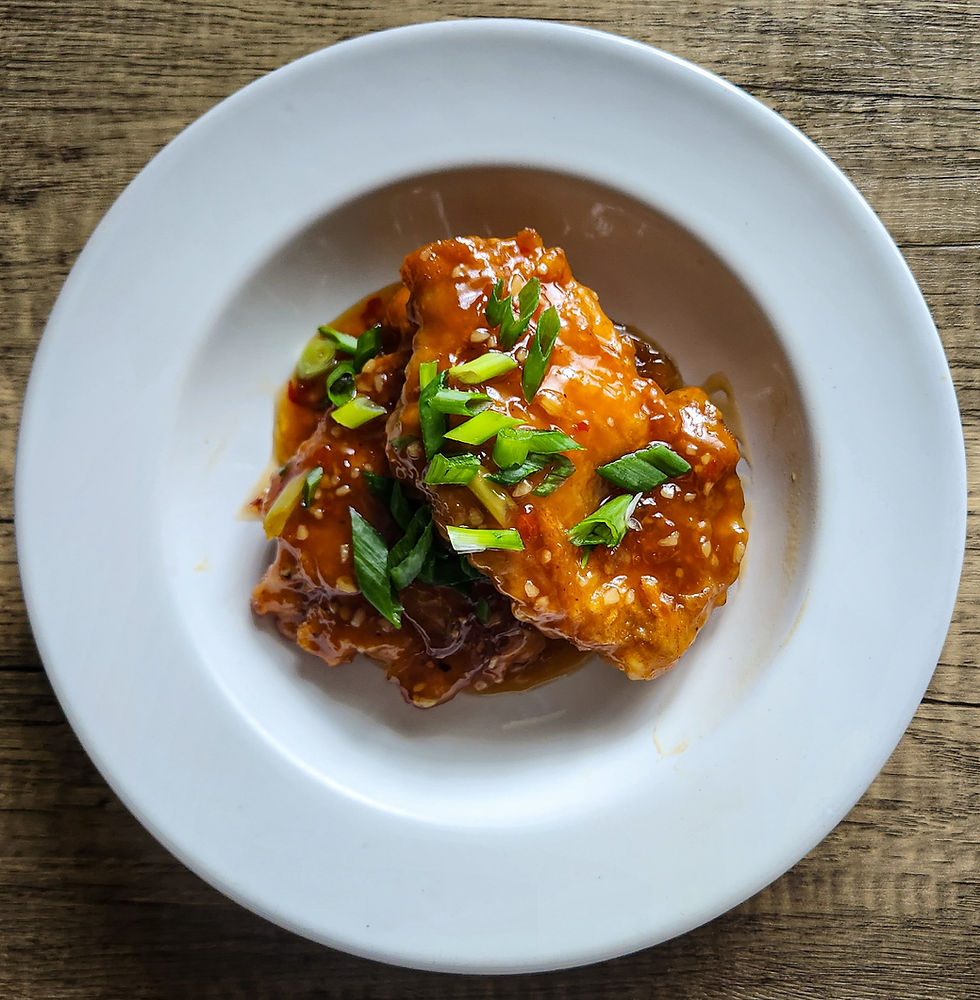
Tender, juicy, succulent...

Comments