
Cantonese Style Mooncake | 廣式月餅
- Daniel

- Sep 8, 2022
- 4 min read
Updated: May 21, 2025
Can you believe it? It took me 3 weekends of experimenting to get to this recipe. I had tried multiple recipes online. None of them actually works out as I expected. Don't get me wrong, I am not bashing anyone. I mean, at least be honest. And I am being honest here. I know my mooncakes have uneven coloring. I don't shy away from photo edit or filters.

About to hit the oven...
This is the recipe that works for me. I had tried at least 5 types of fillings and I love this black sesame paste the most. And also, my mooncakes did not bend outta shape or deflate after the baking process with this filling. I will include another video of the mishaps I faced during this mooncake making journey.

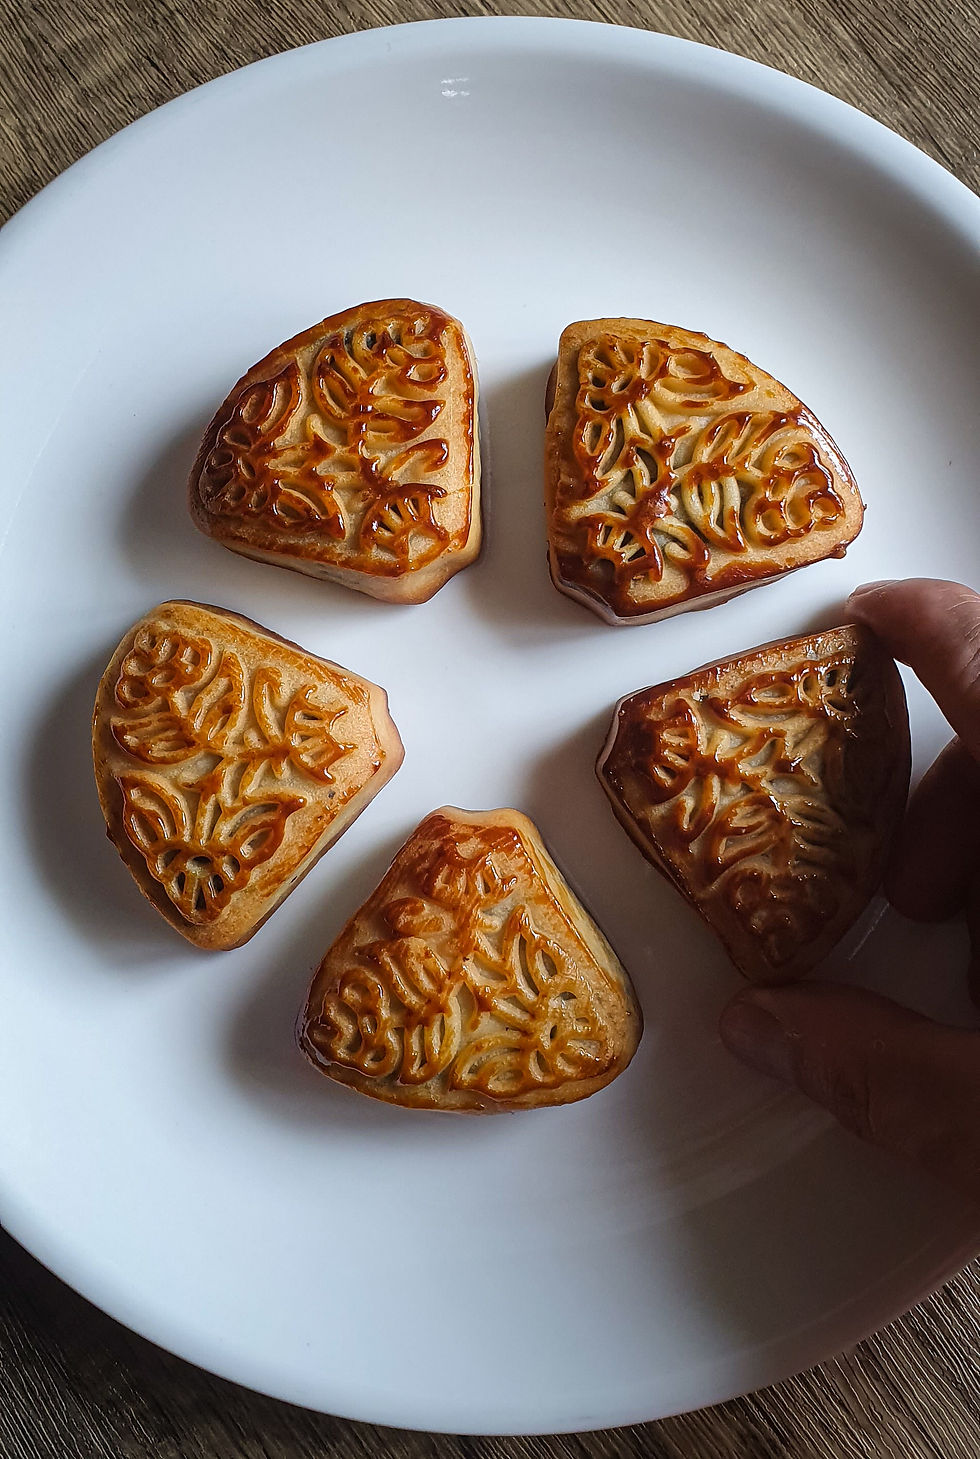
The most difficult part is to wait for 2 to 3 days before eating...
If you are having trouble getting your hands on alkaline powder, you can omit the ingredient entirely. But it will not give you that distinct golden brown shine. You can still use the common 100g mooncake mold as well.

I am using 30g fillings to 20g dough ratio. If you are not confident enough, you can start off with 25g fillings to 25g dough. Practice will make improvements. Soon, you will be using 35g fillings to 15g dough ratio or the God Tier of 40g fillings to 10g dough ratio that mooncake masters are pushing out. I am not sure if there is a 75g mooncake. But I do know that the common ones are 50g and 100g. If you are planning to make 100g mooncakes, keep that ratio in mind too.
I found that sesame oil works best. I discourage the use of cornstarch as it will not only cause some white ugly patches on your mooncakes, but it also does not "unstuck" your mooncakes from your mold. I think that is all for now. I will of cos strive to craft the best Cantonese style mooncake for you lovely people. In closing, I wish all you lovely people a very Happy Mid-Autumn Festival!

Ingredients:
(Make twenty 50g mooncakes)
Dough:
Alkaline Powder, 1/8 TSP
Water, 1/2 TSP
Golden Syrup, 160g
Peanut Oil, 60g
Unbleached All Purpose Flour, 110g
Cake Flour, 110g
Fillings:
Black Sesame Seeds, 100g + 160g
White Sesame Seeds, 60g
Glutinous Rice Flour, 100g
Granulated Sugar, 100g
Sea Salt, 1/2 TSP
Sesame Oil, 50g + More For Greasing
Water, 160g
Mooncake:
Egg Yolk, 1
Equipment:
Oven
Cast Iron Skillet
Spice Grinder / Food Processor
Mooncake Mold (50g / 100g)
Directions:
Prepare the Dough
In a large mixing bowl, add alkaline powder and water.
Mix until the powder is fully dissolved.
Add in the golden syrup and mix until well combined.
Next, add the sesame oil.
Stir until the oil is fully emulsified into the syrup.
It will take quite a while but do not skip this step.
Add in the 2 types of flour.
Fold until it comes together into a dough.
Knead with your hands, picking up all the nooks and crannies.
The dough should be smooth and slightly tacky, but not sticky.
If the dough is too wet, add in more flour, 1 TSP at a time.
If the dough is too dry, add in more oil, 1 TSP at a time.
Set aside for 30 mins.
Weigh and divide into 20g each.
Shape into balls.
Cover and chill in the fridge until ready to use.
Prepare the Fillings
In a skillet over medium heat, add 100g of black sesame seeds and white sesame seeds.
Toast until the white sesame seeds are lightly browned.
The sesame seeds should start popping.
Remove from heat and set aside to cool down.
Add another 160g of black sesame seeds to a spice grinder.
Blitz until coarse paste forms. Set aside until ready to use.
Do not take it too far or oil will start to release.
In the same skillet over medium heat, add glutinous flour.
Toast until lightly browned.
Add in the black sesame paste and the toasted sesame seeds.
Mix until well combined.
Followed by sugar, salt, oil and water.
Mix until fully incorporated and until it comes together into a paste.
Remove from heat.
While it is still warm, weigh and divide into 30g each.
Roll into balls.
Cover and chill in the fridge until ready to use.
Assembly
I am using a 50g mooncake mold.
Preheat the oven to 200°C or 390°F.
Grease the mold, rolling pin and working surface with sesame oil.
Roll the dough into a disc to about 1/8" thick.
Place in the fillings and wrap with the dough.
Tucking and pushing gently.
Roll it into a smooth ball.
Inspect and make sure there are no cracks or holes.
If there are cracks and holes, you can patch them up with a small pinch of dough. Roll again to smoothen it out.
Roll and adjust the mooncake slightly smaller than your mold.
Press firmly onto a baking tray lined with parchment paper.
Release and jiggle. The mooncake should come right off.
Repeat the steps for the remaining dough and fillings.
Keep them covered while working with 1.
Lightly mist the mooncakes with a spray of water.
Wack into the oven and bake for 8 mins.
While the mooncakes are baking, whisk an egg yolk with a pinch of salt.
Remove the mooncakes from the oven.
Allow the mooncakes to cool down slightly.
Lightly, and I mean lightly, brown the top of the mooncakes with the egg wash, and only the top.
Wack them back into the oven and bake for a further 8 mins or until golden browned.
Remove from the oven and set aside to cool down completely.
Store them in airtight containers. Keep them at room temperature for at least 2 to 3 days. This is to allow the mooncakes to mature and release some of their unique color and greasy aromatic flavors.
Serve and enjoy.

Not to brag, but this tastes better than all the store-bought mooncakes I had...
Recipe Video:
Tips & Tricks:


Comments